
There are different types of waxed concrete depending on the use you want to make of it. For the bathroom, it is necessary to choose a waxed concrete suitable for damp rooms, which is resistant to water and stains. You can opt for a waxed concrete kit, which contains all the elements necessary for installation: primer, waxed concrete powder with the color and the protective varnish… You can also buy the products separately, depending on your needs. Choosing the color of waxed concrete depends on your tastes and the style you want to give your bathroom. There is a wide range of colors, from white to black, passing through gray, beige, taupe, red or green. You can also create your own shade by mixing the pigments purchased separately, in the “pigments” category.
Prepare the support Before applying the waxed concrete.
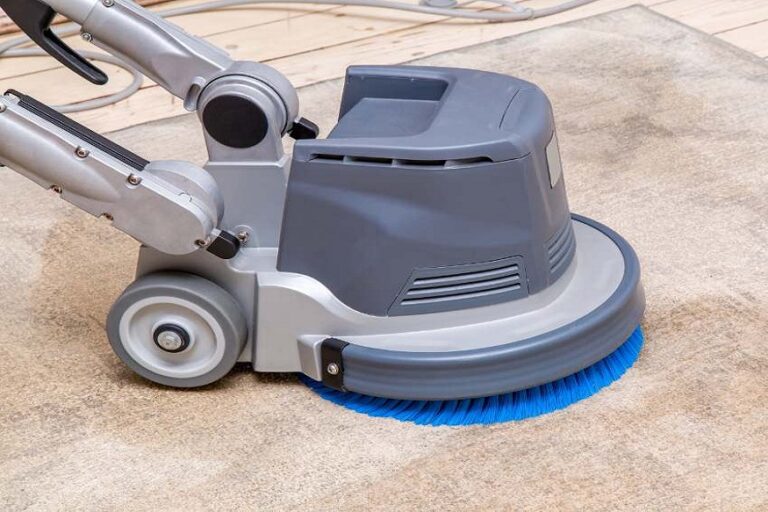
It is necessary to prepare the support on which it will be placed. It must be clean, dry, healthy and resistant. If you have old tile, you should check that it is not cracked or peeling off. If so, you need to fix it or remove it. If you have a plaster or cement support, you must sand the roughness and prepare the support with an undercoat and a preparation mortar. In all cases, you must apply a primer on the support to promote adhesion of the waxed concrete.
Apply waxed concrete.
Once the support is ready, you can proceed to bathroom renovation the application of waxed concrete. You must start by mixing the waxed concrete powder plus the color and water with an electric mixer until you obtain a homogeneous paste without lumps. You must then spread this paste on the support with a small stainless steel trowel by making crossed movements to obtain a uniform finish. Two coats of waxed concrete must be applied, respecting a drying time between each coat (about 1 hour).
Protect the waxed concrete.
The last step is to protect the waxed concrete with a varnish suitable for damp rooms. The varnish will waterproof the coating and give it a satin or matte appearance depending on your preference. Two coats of varnish must be applied by crossing the passes and respecting a drying time between each coat (about 12 hours). The varnish will also strengthen the resistance of the waxed concrete to shocks, scratches and stains. The application of the well-glossed wax in 2 coats reinforces the protection and enhances the natural design of these coatings.
Decorate the elements with waxed concrete.
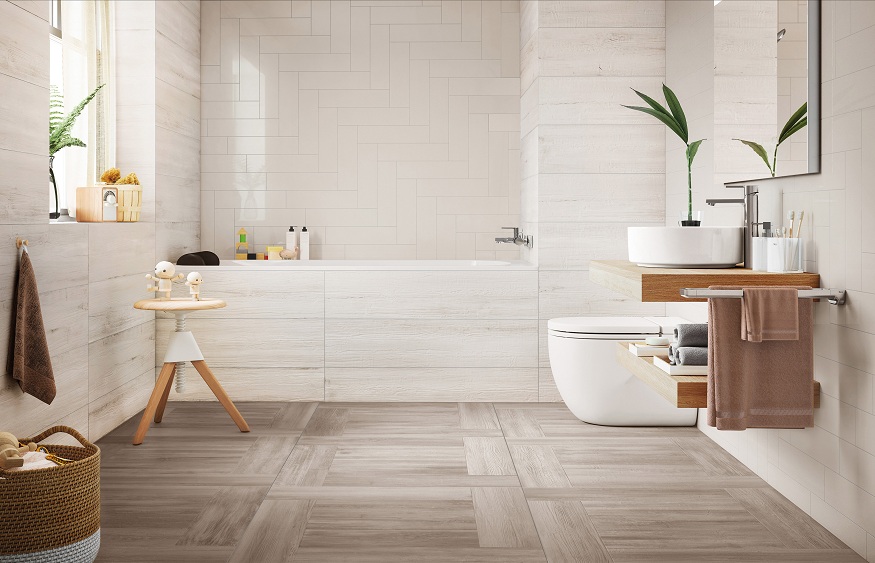
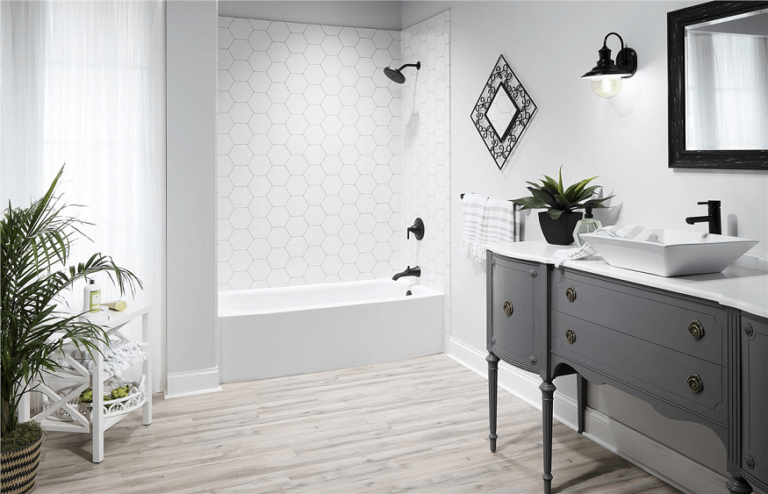
Polished concrete can also be used to decorate certain elements of your bathroom, such as shower screens, vanity units or floor tiles. To do this, follow the same steps as for the walls, adapting the type and color of waxed concrete according to the desired effect. For example, you can create a walk-in shower by covering the walls with waxed concrete in the same color as the walls, to create an effect of continuity and space. You can also give your vanity cabinet a makeover by giving it a concrete look, choosing a color that contrasts with the walls, to create a focal point in the room.
Finally, you can renovate your floor tiles by covering it with waxed concrete, opting for a light or dark color depending on the atmosphere you want to create. You now know how to renovate your bathroom with waxed concrete. This coating allows you to transform your bathroom without doing major work, while giving it a modern and refined style. Do not hesitate to consult our site Biologement.fr to discover our products and our advice to carry out your project.


+ There are no comments
Add yours